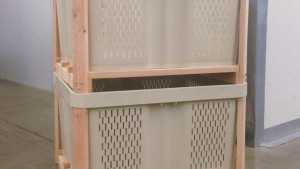
Orbis Introduces First Plastic, Reusable Corrugated Box For Automated Packaging Lines Posted by Christina Herrick|November 26, 2015 ORBIS Corporation, an international manufacturer of sustainable reusable packaging and a leader in supply chain optimization, has […]Read More
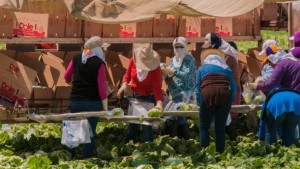
What You Need To Know about New Final Rule That Protects Farmworkers Posted by Growing Produce Staff|April 26, 2024
Avoid These Mistakes When Flying Drones Over Your Farm Field By Ksenia Korolkova, Proofminder|April 24, 2024
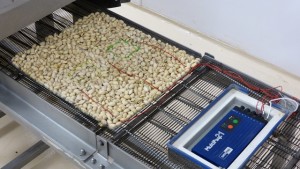
Project Aims To Create Guidelines For Pistachio Pasteurization Validation By Ann-Marie Jeffries|November 11, 2015 Pistachio processors already go to great lengths to ensure their product is safe for consumers, but the Food […]
Workshop Focuses On Microbial Produce Safety Systems Posted by Christina Herrick|October 27, 2015 The annual Produce Safety Workshop will be held Nov. 3-5 at the Buehler Alumni Center on the […]
New Anti-Browning Formula Prevents Browning Of Fresh-Cut Produce Posted by Rosemary Gordon|September 15, 2015 The formula from Cal Poly halts microbial growth and extends shelf life.
What Makes A Flavorful Fruit? By Elizabeth J. Mitcham|August 28, 2015 These days, U.S. consumers are increasingly demanding good-tasting fruit and the industry is responding. However, there remains room […]
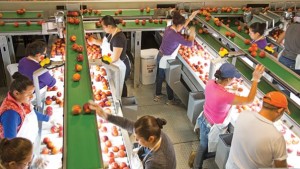
Technology Helping To Bring That “Fresh-Picked” Peach To Consumers By Christina Herrick|August 26, 2015 Imagine what it’s like to pick a fresh peach off of a tree in an orchard. The smell, […]
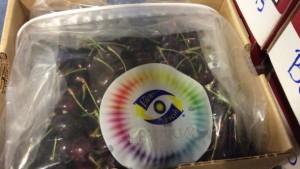
Oregon Cherry Grower Announces Advancement In Modified Atmosphere Packaging Posted by Christina Herrick|August 24, 2015 View Fresh, a modified atmosphere packaging (MAP) system owned by Orchard View Farms of The Dalles, OR, announces the […]
Elizabeth Mitcham Honored As Outstanding Horticulturist Posted by Christina Herrick|August 18, 2015 Elizabeth Mitcham, a University of California (UC)-Davis scientist, was honored by the American Society for Horticultural Science (ASHS) […]
EPA Approves New 1-MCP Technology Posted by Christina Herrick|July 30, 2015 EPA approved Fysium, a new 1-MCP product from Pace International LLC. Considered new technology, this product is produced […]
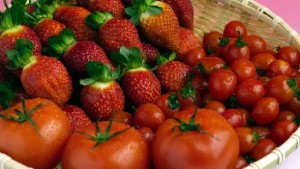
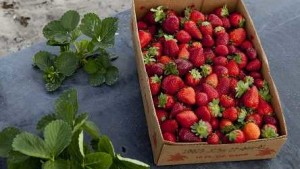
Scientists Seek To Save Flavor Of Tomatoes And Strawberries Posted by Paul Rusnak|April 17, 2015 A $500,000 grant will enable University of Florida researchers to focus on how light can affect the quality and taste of produce after harvest.
Horticultural Crops Postharvest Technology Short Course Posted by Ann-Marie Jeffries|January 12, 2015 This two-week course offers a comprehensive look at postharvest topics, including the latest postharvest technology.
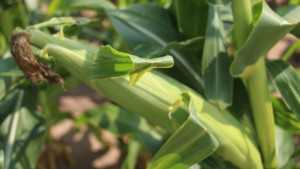
Rapid Cooling Equals Longer Shelf Life For Fresh Market Sweet Corn By Rosemary Gordon|September 29, 2014 Minimize mechanical injury and remember the three “T”s of cooling: time, turbulence, and temperature.
New Tracking System Could Improve How Companies Ship Fresh Produce Posted by Paul Rusnak|September 6, 2014 Researchers use RFID technology to find transport conditions suitable for strawberries.
BioSafe Systems Launches Postharvest Treatment System Posted by Christina Herrick|June 10, 2014 The unit is designed to remove pesticides, pathogens and decay-causing organisms from fruits and vegetables to extend shelf life.
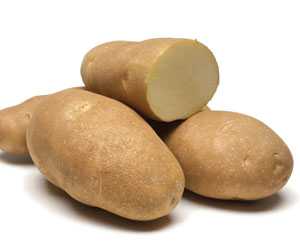
Four Factors To Consider During Potato Storage By Ajay Nair|April 1, 2014 Growers need to pay attention to relative humidity, temperature, light, and more to maintain proper storage conditions for potatoes.
New Pallet, Sleeve, And Top Cap System, Available From Orbis Corporation Posted by Lauren María Alexander|February 5, 2014 The Opte Bulk assembles and collapses quickly and features a proprietary latch for easy sleeve release and engagement.
Experts Serve Up Top Food Trends For 2014 Posted by Paul Rusnak|December 13, 2013 See several predictions that may end up on your plate in the coming year.
New Container For Harvest, Storage, And Shipping Posted by Rosemary Gordon|December 11, 2013 The plastic bins from Macro Plastics will be available in January 2014.
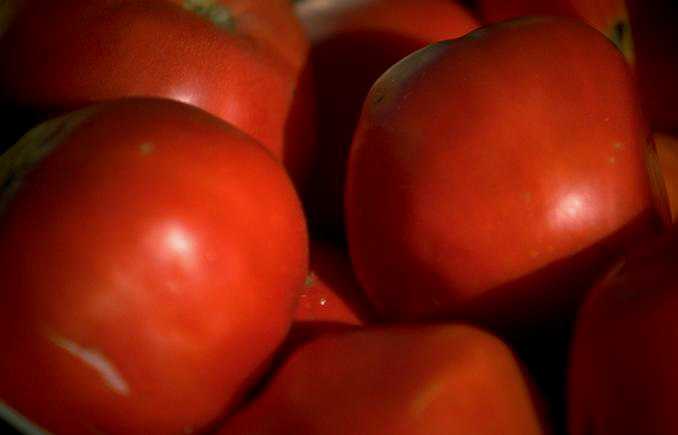
Study: Spread Of Salmonella Is Rare In Postharvest Tomatoes Posted by Frank Giles|December 9, 2013 UF/IFAS researchers say “perfect storm” is necessary for the fooborne illness to proliferate.
UC-Davis Postharvest Technology Announces Short Courses And Workshops Posted by Christina Herrick|November 12, 2013 Courses focus on fruit and vegetable quality, preventative controls, and the latest technology used to handle fruits, nuts, and vegetables.