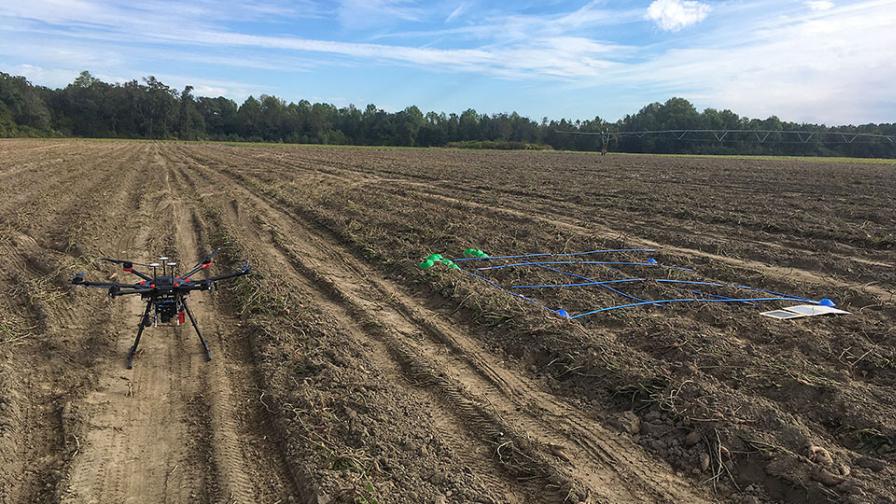
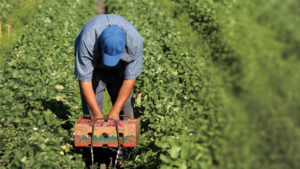
Artificial Intelligence Promises To Help Reduce Food Waste on Farms By Lisa K. Johnson|May 18, 2023 New research uses drones and artificial intelligence to identify postharvest yield potential in sweet potatoes. Read More
4 Fruit Varieties You Might Want To Add to Your Crop Portfolio By Growing Produce Staff|July 21, 2026
Video: Why Chasing High Prices Can Backfire on Vegetable Growers Posted by Growing Produce Staff|July 21, 2026
FDA Continues Focus on Lettuce in Cyclospora Outbreak Probe Posted by Growing Produce Staff|July 20, 2026
How To Reduce Postharvest Disease in Your Vegetable Crops By Anthony P. Keinath|January 4, 2023 Cercospora and Alternaria can damage crops even in cold storage. Here’s how to reduce losses after harvest.
AgroFresh and Ceradis Ink Distribution Deal for New Organic Biofungicide Posted by Growing Produce Staff|November 20, 2022 Partnership brings CeraFruta, an organic biosolution that fights fungal decay, to the postharvest industry.
Clarifruit Raises $12 Million To Reduce $900 Billion Annual Waste in Fruit, Vegetable Industries Posted by Thomas Skernivitz|November 18, 2022 Software company offers first AI-powered quality control technology for fresh produce.
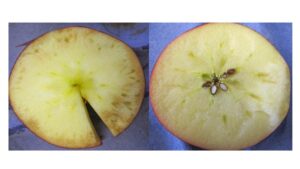
‘Game Changer’ Found for Spotted Wing Drosophila Control in Blueberries By David Eddy|November 15, 2022 USDA says new low-pressure vacuum technology called RipeLocker is breakthrough in fruit storage.
It’s in the Bag: PPC Flexible Packaging Announces Key Industry Acquisition Posted by Growing Produce Staff|October 21, 2022 With the latest addition, the provider of custom flexible packaging solutions now operates 13 manufacturing facilities across the U.S. and beyond.
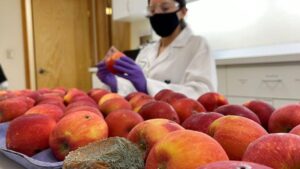
Food Safety Factors: What Growers Need To Know By David Eddy|September 12, 2022 Postharvest industry suppliers weigh in on the new food safety rules and what they mean for producers.
DYK? AI Is Learning To Keep an Eye Out for Subpar Strawberries Posted by Paul Rusnak|September 9, 2022 New ag tech system taught to detect bruised fruit before it gets to the grocery store.
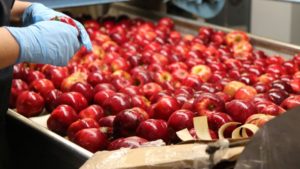
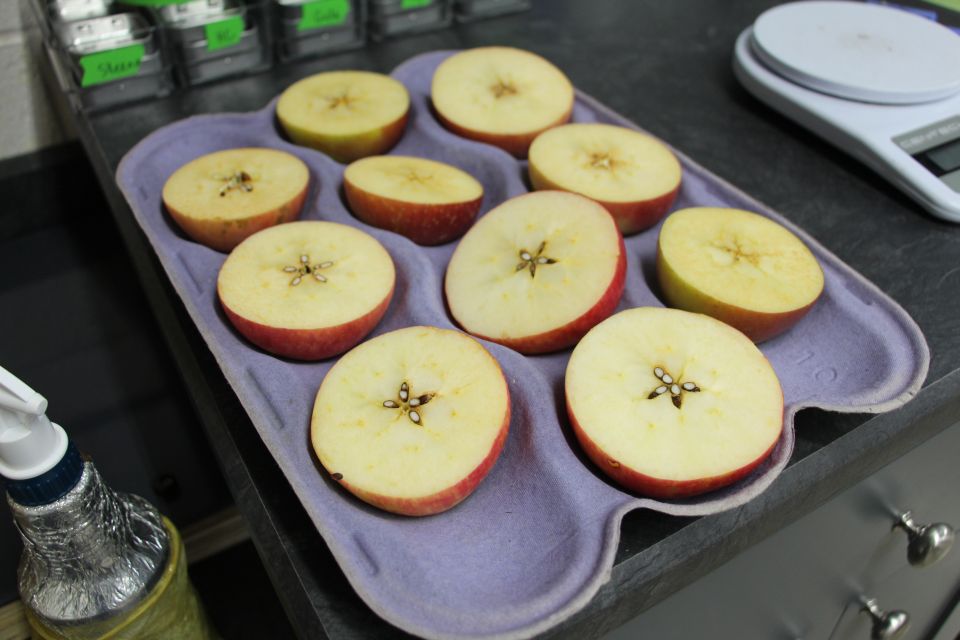
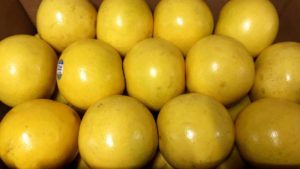
Extending Praise to the Extenders of Apple Freshness By Thomas Skernivitz|August 9, 2022 When science, innovation, and agriculture come together, fruitful things can happen.
Ways Smart Surfaces and Coatings Can Help Protect the Produce Industry By AgriLife Today|December 13, 2021 Learn more about a $2.4 million grant received by Texas A&M from USDA to improve specialty crop safety and water efficiency.
AgroFresh and Starr Ranch Growers Go All In To Fight Food Waste Posted by Growing Produce Staff|December 3, 2021 Leading Washington apple producer selects unique ag tech solution to digitize inspection data, derive supply chain insights, improve quality, and more.
2021 Heat Dome Effect Puts a Lid on Pome Fruit Postharvest Plans By Thomas Skernivitz|November 30, 2021 The Pacific Northwest’s summer heat wave results in unfilled bins and smaller fruit, with some bright spots.
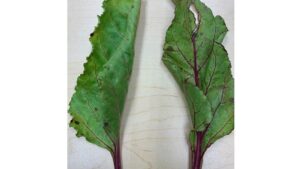
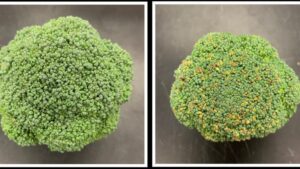
How a Peek Inside Broccoli Genes Might Help Solve Food Waste Plight By UF/IFAS News|November 19, 2021 Learn more about fresh research aimed at keeping produce crisp and green longer.
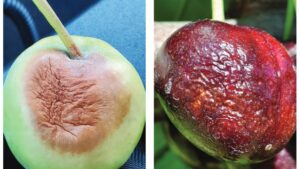
Products in Play To Help Keep Fruit Decay at Bay By Thomas Skernivitz|November 7, 2021 Growers, packers work to extend the usable life of postharvest fungicides.
What’s Being Done To Tighten up Supply Chain in the Food Industry By Thomas Skernivitz|November 1, 2021 Stakeholders eye advanced tech platforms to improve collaboration between growers and processors.
Pome Fruit Storage Disorders: The PGR Effect By Thomas Skernivitz|July 27, 2021 Despite their benefits, plant growth regulators should be used cautiously to enhance postharvest storability.
6 Tips To Avoid Postharvest Losses By Lauren María Alexander|June 15, 2021 Follow these steps to eliminate losses in the postharvest process due to preventable missteps.
Decco Reaches Settlement with AgroFresh over Outstanding Litigation By Growing Produce Staff|April 26, 2021 Terms of the settlement remain confidential.
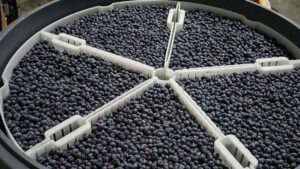
Does Blue Light Exposure Help the Quality of Blueberries? By CAES Newswire|February 26, 2021 Researchers at the University of Georgia investigated a potential solution for extending the shelf life of blueberries. Find out what happened.
AgroFresh Announces Launch of Plant-Based Coatings Posted by Growing Produce Staff|February 25, 2021 VitaFresh Botanicals promises fresh produce protection, shelf life extension, and reduced waste.