


5 Cool Tips to Winterize Your Orchard Sprayers
 December 11, 2019
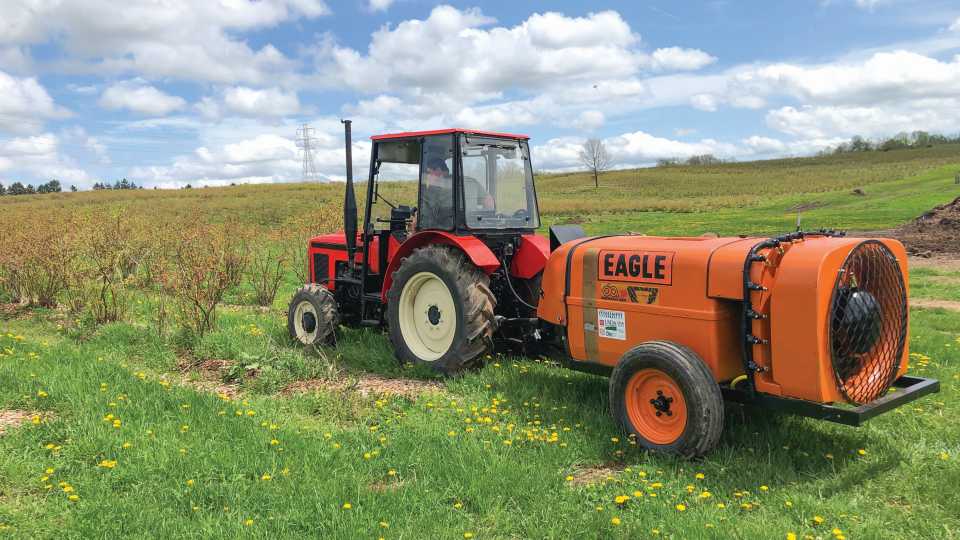
 This past 2019 growing season was a very challenging one for many fruit growers. After seeing another polar vortex, another super wet season, and numerous disease, insect, and weed problems, a lot of the fruit growers are looking forward to a few months of rest and relaxation. Before you do that, please take time to properly winterize your sprayers now to avoid costly repairs next year. Whether you own a sprayer that costs hundreds, thousands, or hundreds of thousands of dollars, you want to protect your investment.

View all
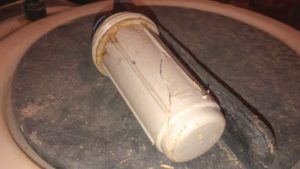
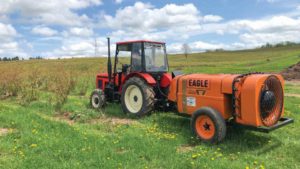
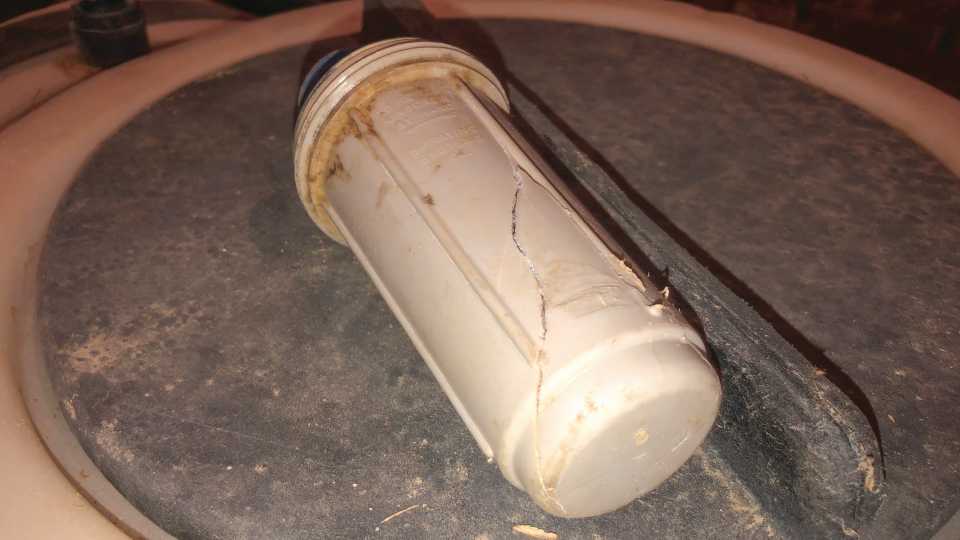
I often jokingly tell growers, “Do what I say and do not do what I do.” There are many things that we know we should do, but we may not do some of the them until it is too late. As I checked out some of the sprayers at Ohio State University (OSU) South Centers, I found a cracked filter on one of our sprayers for our blueberry field. Hopefully you won’t find things like this on your sprayer next season.
Depending on the type and size of the sprayers, the costs can be as little as a few hundred dollars and as much as tens of thousands of dollars. You do not want to bring out your sprayer next spring and find broken hoses, pumps, filters, and gauges. In addition, repairs will cost you both in money and time. If you cannot get sprayer parts in a timely manner, you may miss the best timing for putting on the spray materials. Cost of sprayer repairs and potential disease and insect damage can add up to big losses next season.
FIVE STORAGE TIPS
Since I am a much better “pencil pusher” than a farmer, I asked Wayne Lewis for more practical advice. Wayne is our Farm Manager and a seasoned machinery guy at OSU South Centers. He has several pointers for us.
1. Read your owner’s manual. We have quite a few different sprayers at OSU South Centers. Wayne says every sprayer is different, and you need to read your owner’s manual to find out what needs to be done. If you can’t locate the owner’s manual easily, you may still be able to find a digital copy online. Agricultural equipment manufacturers do a very good job supplying all of the needed information for you to keep your equipment in tip-top shape.
2. Rinse the sprayer. Empty the remaining chemicals and rinse it thoroughly with water. Do not purposely leave spray materials in the tank in the sprayer to save money. Even though many of the pesticides are very expensive, leaving them in the sprayer during the winter months could ruin your expensive equipment. At the end of the season, add clean water to the tank and run the sprayer to flush out all of the remaining materials from the system. Your owner’s manual should tell you how many gallons you need to do that. And drain all of the water out, too.
3. Clean the sprayer inside and out. Nozzles and filters will definitely need to be cleaned. Depending on which pesticide was used last, the tank, hoses, and the pump will need to be cleaned, too. It is critical for you to refer to your owner’s manual for more information. It is also good to touch up the rusted areas to prevent further corrosion. Some growers may also give their sprayer a new paint job.
4. Winterize the sprayer. I also consulted Dr. Erdal Ozkan, who is a Professor and an Extension Agricultural Engineer at OSU. He recommends the following steps for winterizing sprayers: “To prevent freezing, check one more time to make sure there is no liquid left inside any of the sprayer parts. The pump, the heart of a sprayer, requires special care. After draining the water, add a small amount of oil, and rotate the pump four or five revolutions by hand to completely coat interior surfaces. Make sure that this oil is not going to damage rubber rollers in a roller pump or rubber parts in a diaphragm pump.
“Check the operator’s manual. If oil is not recommended, pouring one tablespoon of radiator rust inhibitor in the inlet and outlet part of the pump also keeps the pump from corroding. Another alternative is to put automotive antifreeze with rust inhibitor in the pump and other sprayer parts. This also protects against corrosion and prevents freezing in case all the water is not drained. To prevent corrosion, remove nozzle tips and strainers, dry them, and store them in a dry place. Putting them in a can of light oil such as diesel fuel or kerosene is another option,” Ozkan says.
Lewis says some sprayers need boat antifreeze, while others use automotive antifreeze. “When in doubt, read your operator’s manual,” he says, adding that you do not want to do anything to void your warranty or hurt your sprayer.
5. Put the sprayer away for storage. A recommended place of storage is a well-ventilated and dry barn. You should also check the conditions of gauges, hoses, nozzles, and other parts to see if they need to be fixed or replaced. Ozkan also recommends covering openings of the sprayers to prevent birds from building nests inside.
In summary, follow these five steps of Reading, Rinsing, Cleaning, Winterizing, and Storing, and hopefully, your sprayer will be in excellent condition when you fire it up next spring!
Subscribe Today For